Use Tags to associate Information to your Leads for Audience Segmentation
 Updated
by
Raquel Bartolome
Updated
by
Raquel Bartolome
What is a Tag?
TAG is a piece of information that you associate with your lead. These tags can then be used to segment and target specific audiences for various purposes, similar to how attributes are used. The difference between tag and attribute is that tags accumulate or just adds up as your lead information versus an attribute wherein its value can be overwritten.
How to assign a Tag to a lead?

Tags widget
The tags widget allows for quick and easy organization of content by allowing users to add or remove tags from a lead. Please watch the video below for more valuable insights on adding and removing tags from a lead.

Video Overview
Text Widget
You can use a Text widget to add a tag when a lead clicks on a button. This is a way to segment leads based on their interactions.
You can refer to the more detailed article for more information about the Text widget's capabilities and how to use it effectively.
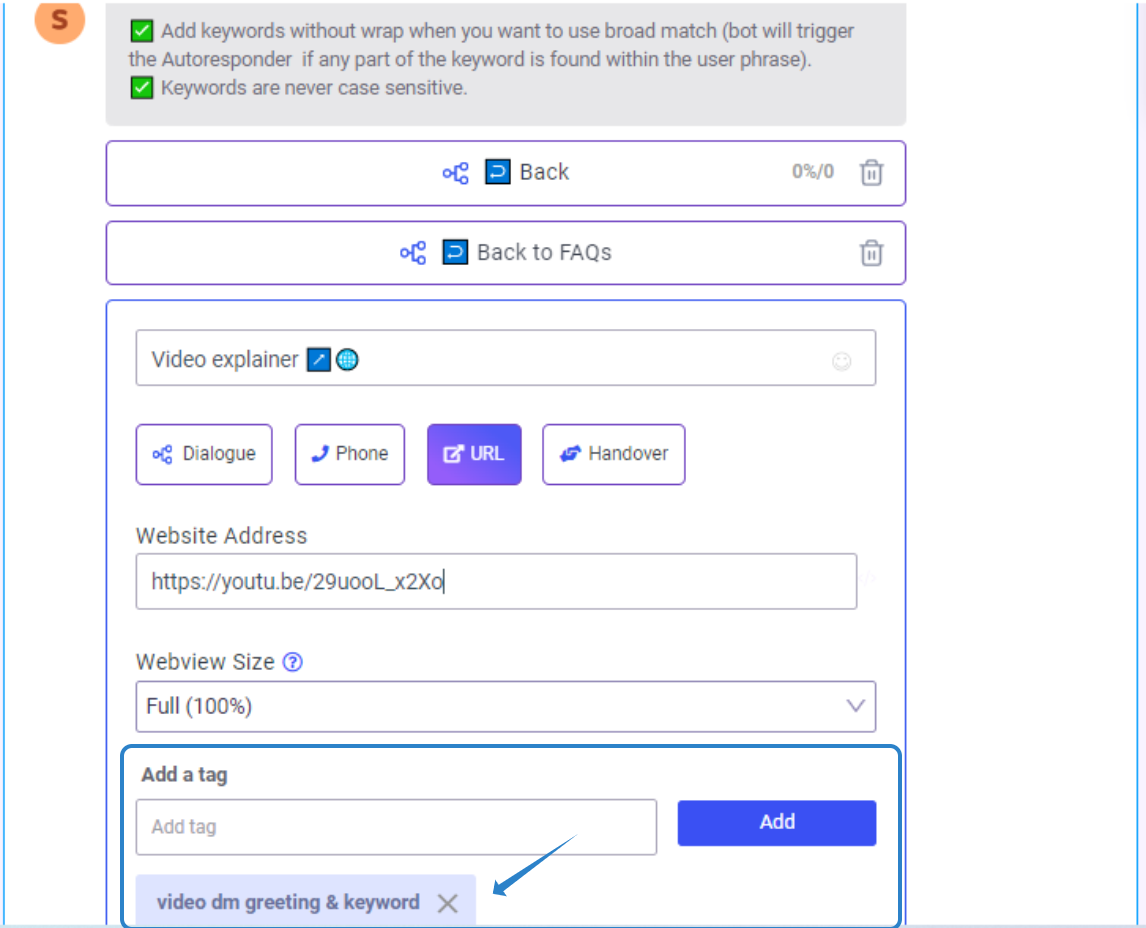
Gallery Widget
Since a Gallery widget is in essence a Text widget with image, it is also possible to add a tag on each button of a Gallery widget. Watch the GIF below for a quick demo ⬇⬇⬇
You can refer to the more detailed article for more information about the Gallery widget's capabilities and how to use it effectively.
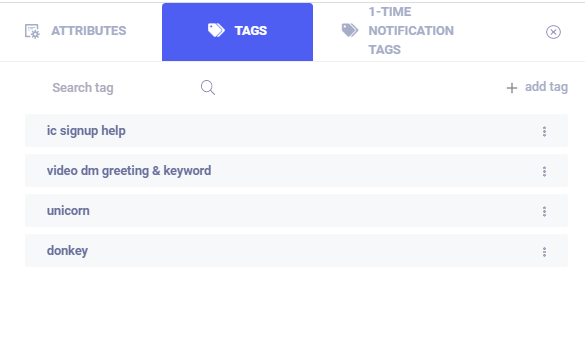
Where to Manage Tags?
You can add or manage all your tags from the Leads section.
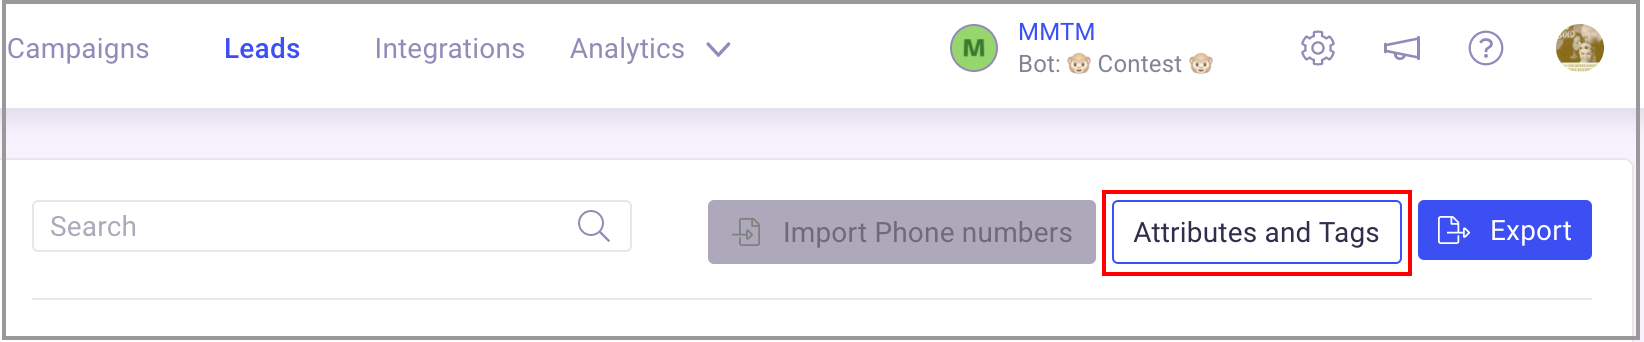
Clicking on the big blue tags button will pop out a list of all your attributes. You can easily add or delete a tag from this section. Deleting a tag from the lead section will remove the tag on ALL leads.
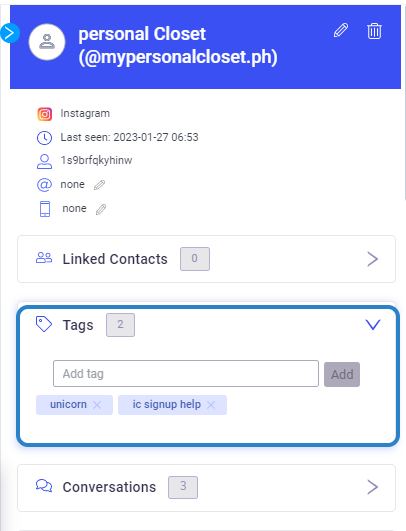
One other place you can manage tags is via the inbox. By clicking on a user you can see the tags assigned to a lead and you can add/remove a tag from here.